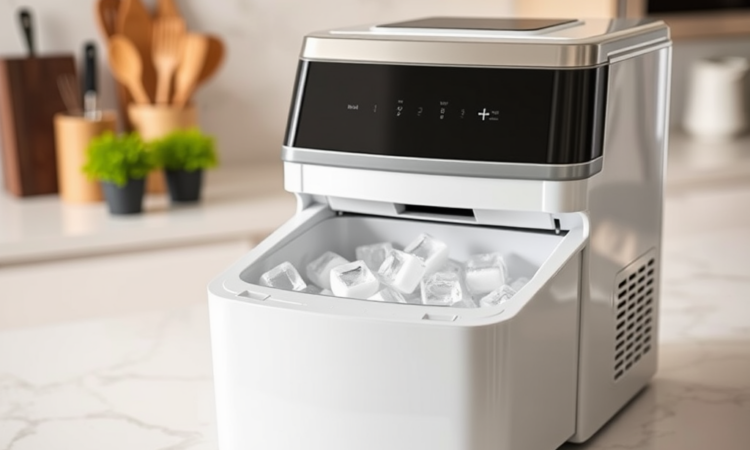
Keeping your countertop ice maker in pristine condition is crucial for producing clean, refreshing ice that enhances your favorite beverages and summer concoctions. However, regular usage can lead to residue buildup, odors, and even bacteria growth if not properly cared for. This is where a thorough cleaning regime comes into play, ensuring that your ice maker continues to deliver high-quality ice. A clean ice maker not only guarantees health safety, but also prolongs the life of the appliance, making it a cost-effective investment for any household or gathering. In this guide, we delve into effective strategies you can implement to keep your ice maker sparkling clean and operating efficiently. Let’s embark on this journey to refresh your understanding of why routine cleaning is not just beneficial but essential.
Before we get into the nitty-gritty of cleaning, it’s essential to understand what goes into a countertop ice maker. These units typically consist of several components that all work together seamlessly to produce ice. Knowing how these parts function aids in identifying what to clean and how fresh ice is created. Whether it’s a budget-friendly model or a high-end piece of equipment, they share fundamental elements that require attention. Some of these components include the water reservoir, mold, and the exterior surfaces that withstand the wear of time. Understanding these elements empowers you to take ownership of your ice maker’s upkeep.
Understanding Your Countertop Ice Maker
A countertop ice maker is an incredible appliance that can simplify entertaining or daily hydration by providing fresh ice on demand. To maintain its efficiency, it’s paramount to focus on the key components involved. Let’s break down these pieces:
- Water reservoir: Stores the water used for ice making.
- Ice mold: Where water freezes into ice cubes.
- Harvest mechanism: Responsible for releasing ice cubes into the storage bin.
- Exterior surfaces: Protects internal components and is often exposed to dirt and spills.
Gather Your Cleaning Supplies
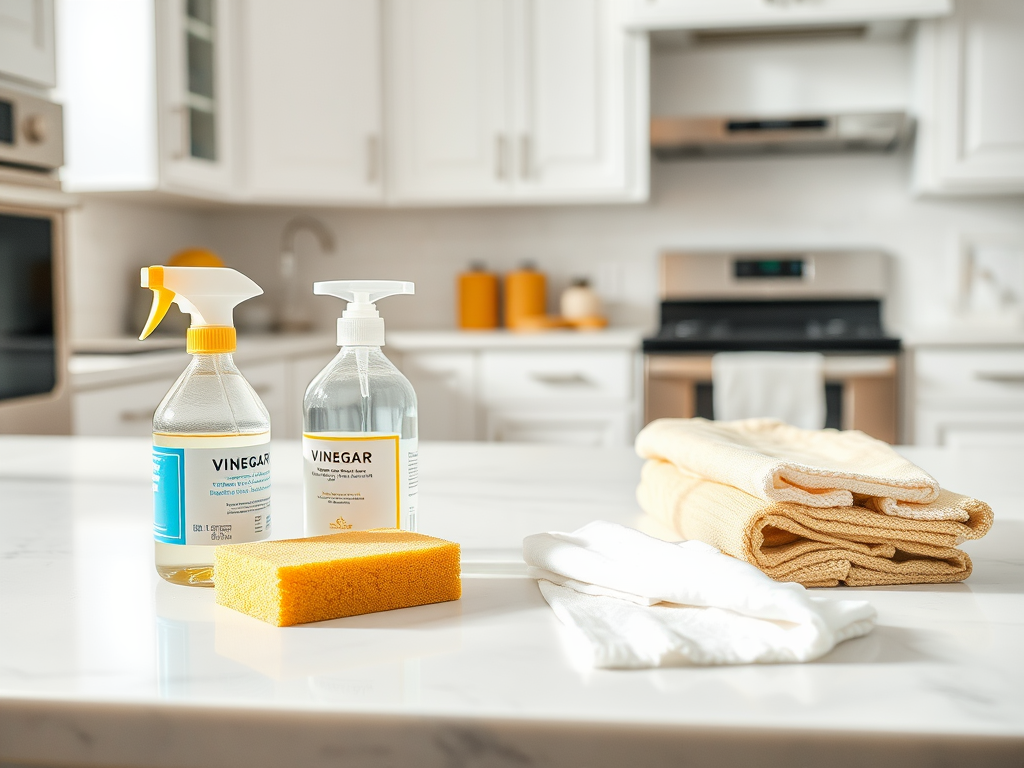
Before diving into the cleaning process, it’s wise to gather your necessary supplies to ensure a smooth and efficient cleaning experience. Here’s a checklist of items you’ll need:
- Soft cloths or sponges
- Mild detergent
- White vinegar or an ice maker cleaner
- Brush for tight spaces
- Warm water
With these materials at hand, you’re ready to tackle the cleaning process in a focused manner. Let’s explore the step-by-step cleaning process to revitalize your ice maker and enhance its longevity.
Step-by-Step Cleaning Process
The cleaning process for your countertop ice maker isn’t overly complicated but requires attention to detail to ensure every component is sanitised efficiently. Start your cleaning journey with your countertop ice maker by emptying it of any existing ice.
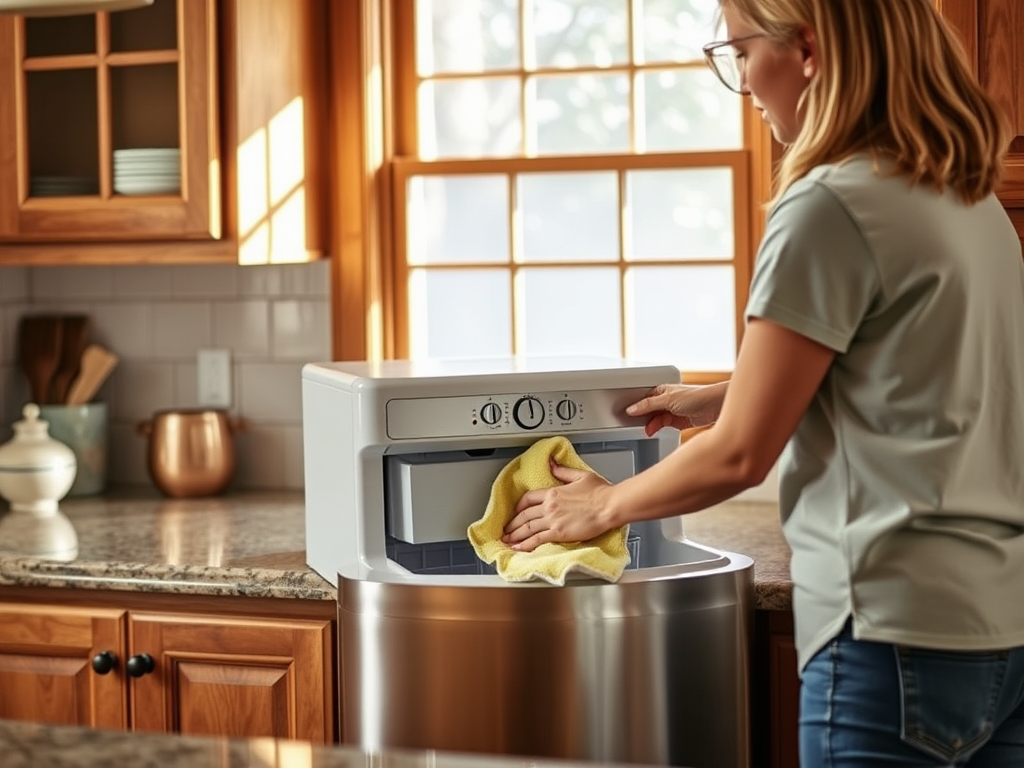
Emptying the Ice Maker
Remove all ice from the storage bin to prevent contamination. This step is critical as it allows you to clean underneath and around the ice mold effectively. You can simply scoop the ice out or wait for it to melt if the ice maker has been off for a while. Following this, wipe out any residual moisture or ice. This helps prepare the machine for a thorough cleanse of its internal surfaces.
Cleaning the Internal Components
Next, disassemble your ice maker according to the manufacturer’s guidelines. Remove all removable parts, including the ice mold and water reservoir. It’s essential to wash these parts with warm soapy water and then rinse them thoroughly to eliminate any soap residue.
| Component | Cleaning Method | Frequency |
|---|---|---|
| Water Reservoir | Remove and wash with soap | Every cleaning session |
| Ice Mold | Soak in vinegar solution | Every cleaning session |
| Harvest Mechanism | Wipe with a damp cloth | Every month |
Following these initial cleaning steps will provide a solid foundation for a hygienic ice-making experience.
Sanitize the Ice Maker
Don’t overlook the sanitizing phase of the cleaning process. Mix equal parts of white vinegar and warm water. Using a soft cloth or sponge, wipe down the interior surfaces of the machine. This step is vital for removing any possible bacteria or mold that could compromise the quality of your ice. Pay special attention to corners and crevices where dirt tends to accumulate.
Regular Maintenance Tips
Now that your ice maker is clean, maintaining its condition is just as important as the initial deep clean. A few simple habits can go a long way in ensuring your ice maker remains in optimal condition.
- Schedule Regular Cleanings: Aim to clean every 3-6 months or more often based on usage patterns.
- Check Filters: Monitor and replace water filters as recommended in the user manual.
- Inspect for Mold: Regularly check for mold in the reservoir, especially during warmer months.
Conclusion
In conclusion, cleaning your countertop ice maker is a straightforward yet critical aspect of its maintenance. With proper cleaning, you can avoid health hazards while ensuring that your ice maker operates at peak performance. By implementing the tips provided in this article, you’ll be well on your way to enjoying fresh, safe ice whenever you need it. Don’t wait for odors or inefficiency to prompt a cleaning – make it a regular part of your ice maker routine!
Frequently Asked Questions
- How often should I clean my countertop ice maker? It’s recommended to clean your ice maker every 3-6 months. More frequent cleanings may be necessary depending on usage.
- What cleaning solutions can I use? You can use a mixture of vinegar and water or a commercial ice maker cleaner, ensuring they are safe for the machine.
- Can I run the cleaning solution through the ice maker? Yes, some manufacturers allow for a cleaning cycle using the appropriate cleaning solution. Always check your user manual.
- What should I do if I notice a strange odor coming from my ice? This could indicate mold or bacteria in your ice maker. A thorough cleaning should resolve the issue.
- Is it safe to use bleach to clean my ice maker? No, bleach can leave harmful residues and should not be used in ice makers. Stick with vinegar or specialized cleaners.